And so... I picked the SNOWMAN! The greatest "wintery" guy ever!
 Beginning with boring old plain white cardstock, I Glimmer-Misted the frosty background in Twilight. (I personally like the bigger drops, making it like bluish snow, but if you want a finer spray, step back a little bit and let it drift through the air...)
Then I had some great paper from My Mind's Eye (the super cool sky blue [snowman], the turqoise [January} and the wannabe turquoise/white stripe [torn strip at bottom]).
 |
| GLUE DOTS Rock! |
 I cut cutie-guy snowmen from Joys of the Season, hiding their facial features, but keeping the button-holes. Then, I Peachy-Keen stamped their faces (my first set) and Stickled their twiggy arms in Cinnamon and their little mouths in Cany Cane. Then I popped teeny brads through the button holes and Glue-Dotted him to the page. (If you've never used Glue Dots, be sure to try them! AND "like" them on Facebook and follow them on Twitter. You'll be glad you did! They have SO many contests and give-aways, not to mention the tips and support. I just LOVE them!)
 Obviously, I tore the strip at the bottom. Uh... need I say more? Then I ATG-ed it to the page. I left room at the bottom for binding purposes.
I cut out the January, using my Cricut... almost any font will do. I adhered it using a Zig pen. Since I was doing 12 pages, I could have used my Xyron, but didn't want glue boogers all over.
*Sigh*

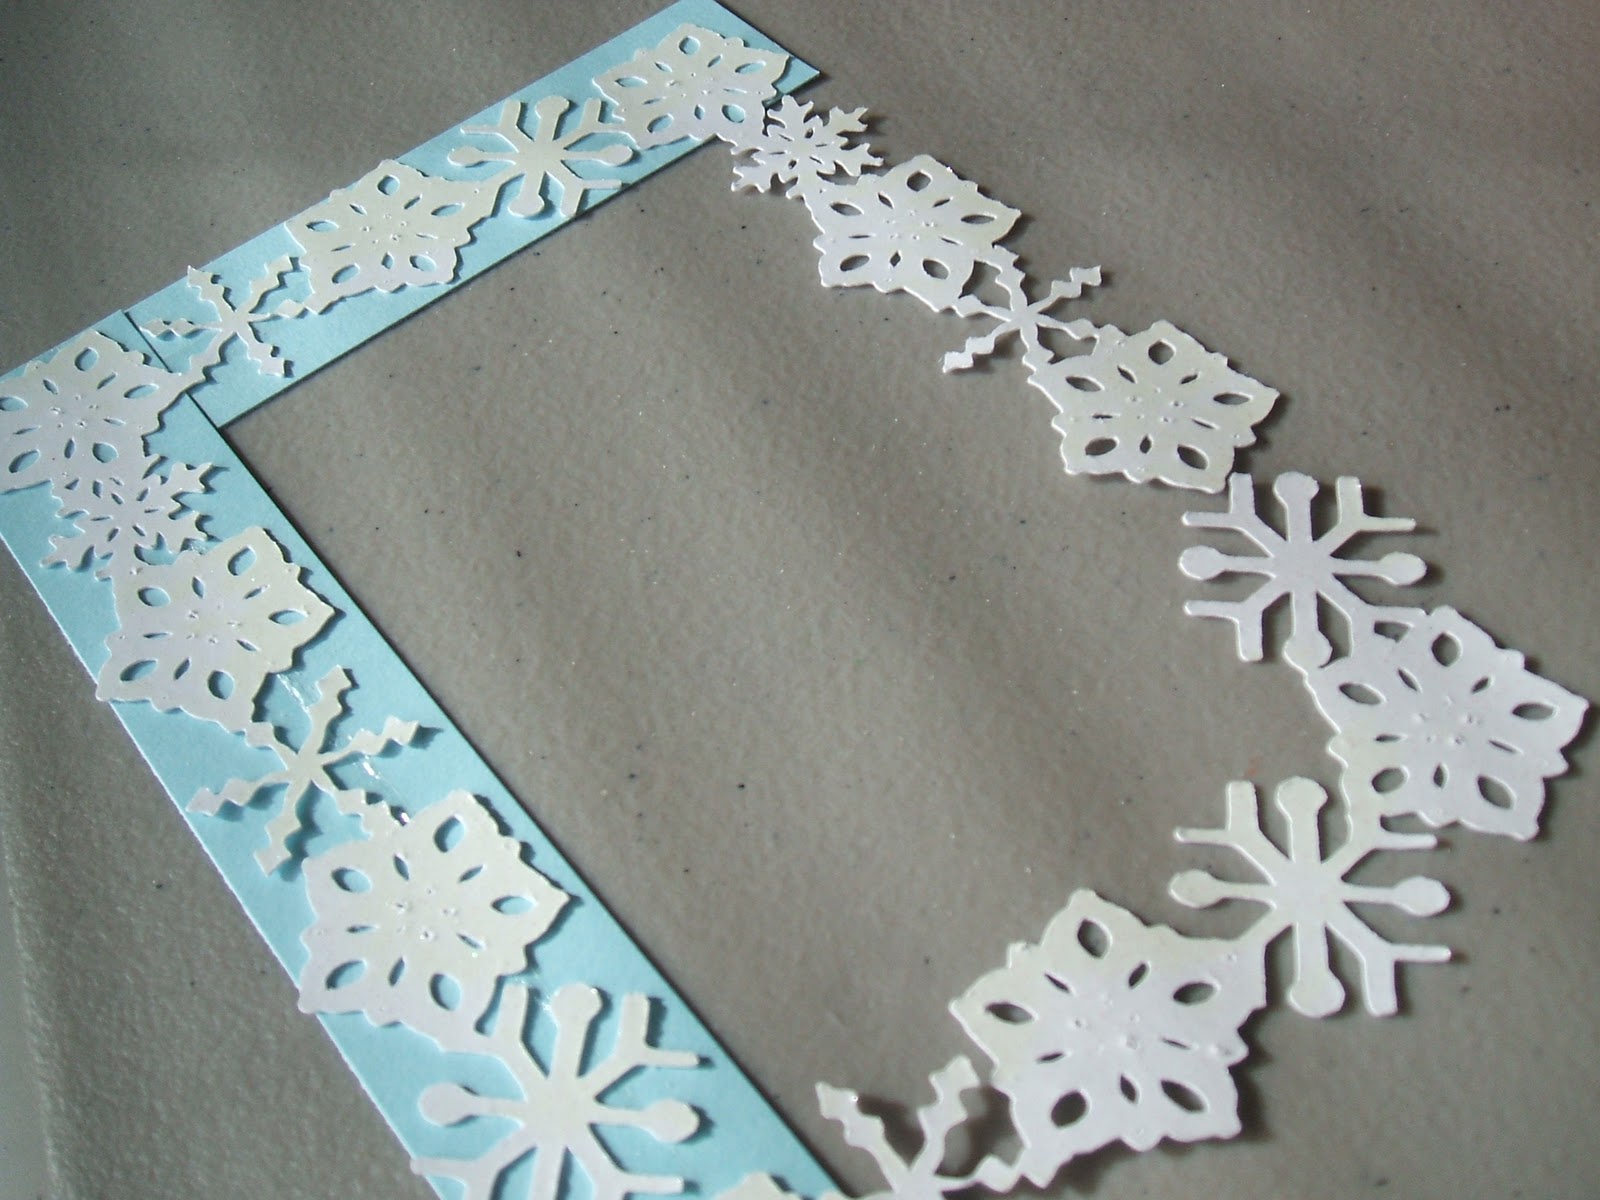 And now we enter the most difficult part... THE FRAME. Ugh! The frame is concocted of a bunch of different snowflakes from various cartridges welded together to fit about a 4.5x3" picture. I sigh, because this took the absolute LONGEST portion. I had to go to bed while the machine cut... for each set of 4 frames, the physical cutting (on the Cricut) took ONE HOUR AND THIRTY MINUTES. Can you believe that? And then... they were a total pain to take off... extremely delicate and breaking. My initial intent was to have a sturdy slip-the-picture-in frame... uh... NO. Didn't work, and so... I adhered blue coordinating cardstock to the precious glittered snowflakes (paper was from my stash...) to support the wobbly frame. This I adhered on three sides (minus the top) and VOILA! I got my slip-the-picture-in-type of frame. Woohoo!
To finish it up, Joann's had some really cute buttons of snowflakes and snowmen, and I just had to have them when I saw them, and so... they ended up on my page! (hee, hee! At least I didn't hoard them, like I am known to do!)
Now I just have to print me out some actual calendar pages for next year (I'll put in KNOWN birthdays and events first, of course). And they'll be ready for gifting, when I get all the pages back.

No comments:
Post a Comment
Thanks for sharing the luv! Feel free to look around to other posts. I so appreciate you stopping by and commenting. Love to know you were here! Have a happy day!