Sunday, December 18, 2011

And Other Christmas-sy, Winter-y Cheer!

I know everyone's been busy. That's not an "excuse", it's just real. I haven't been taking pics of everything, but have been taking pics of some... and here's just a bit that isn't DT stuff...

If you follow me, you know that I make photo spots for the kindergarten classes (um... I guess I've never posted these either?)... Let's start over.

I make photo spots for the kindergartners and their parties. I began last year with our little Leprechaun party. Ok... so apparently I did post it but don't know how to label or had a brain fart or whatever.  So, since I had some JW's in the class, and their mommas wouldn't let them take a pic because they told me, "We don't worship Leprechauns..." (I put that italicized schtuff in there... they didn't emphasize it...) GASP!!! "I don't either..." I said. And thus began my research into things that had NO religious symbolism WHATSOEVER!!!! The "Spring" party came... and I made a Spring Chicken... no eggs, no crosses, no pieces of egg(shells), no bunnies... Ha!

And now onto Winter (in other words... Christmas... Shh...)

Now... let's get this into perspective. It's not that I am dissing the JW's. Or any other religion or non-religion. I respect them. All of them. I firmly believe that we should learn and glean information from ALL religions so that we each understand one another and uphold that respect. I do not believe that we should be ignorant on any level. For those of you who are "older" like me... ahem... You might remember studying the various versions of Santa Clause in other countries. You know... what he was named, their Christmas or other holiday traditions, etc. I remember making dreidels and Menorahs and singing Dreidel songs. I remember singing an African song in the Winter Commemoration. And I am NONE of those religions.

I also believe that kids should be kids. And when the 5 and 6 year-olds are having a party, where all they do is eat, sing songs, make a craft or two, and take photos, it's just another day celebrating LIFE. The classes are a bunch of combined religions, and as a public school, we're not putting religion into it... or politics... we just want kids to be kids and enjoy the fun and fantasy of "fairy tales". Life is magic, too. And so here we all are.

Stepping off my soapbox... WAIT! It was a HIGH platform!!!


Ok, enough with that.

And so... instead of a Santa cut-out, or an Angel cut-out, I made a SNOWMAN. Yes, I did. He comes with glitter and all...

Here's my kid in it. She wanted to take a pic, because she is not in kinder anymore...
Isn't that background just AWESOME? I know!!! It was achieved with a can of spray paint and me moving closer and backing up and over and backing up and... just totally having a blast. I did it out on my driveway and you should've SEEN the cars slowing down... I'm sure I totally looked like a tagger, sweats and all!


Here's just the background...
Now I'm kinda thinkin' I might want an airbrush system... hmmm... another "toy" to play with!

So, I painted the snowman and hills a white, then sprayed them with adhesive and sprinkled glitter. While that dried I painted on the trees and sun. I had originally started to sponge it all, then I had a VanGogh moment and Starry Night appeared in my brain, so I brushed over the sponging and let the streaks show... Loved it! When the gluey business was dry, I sprayed a glaze over, to seal the glitter, because WHO wants glitter all over the place?

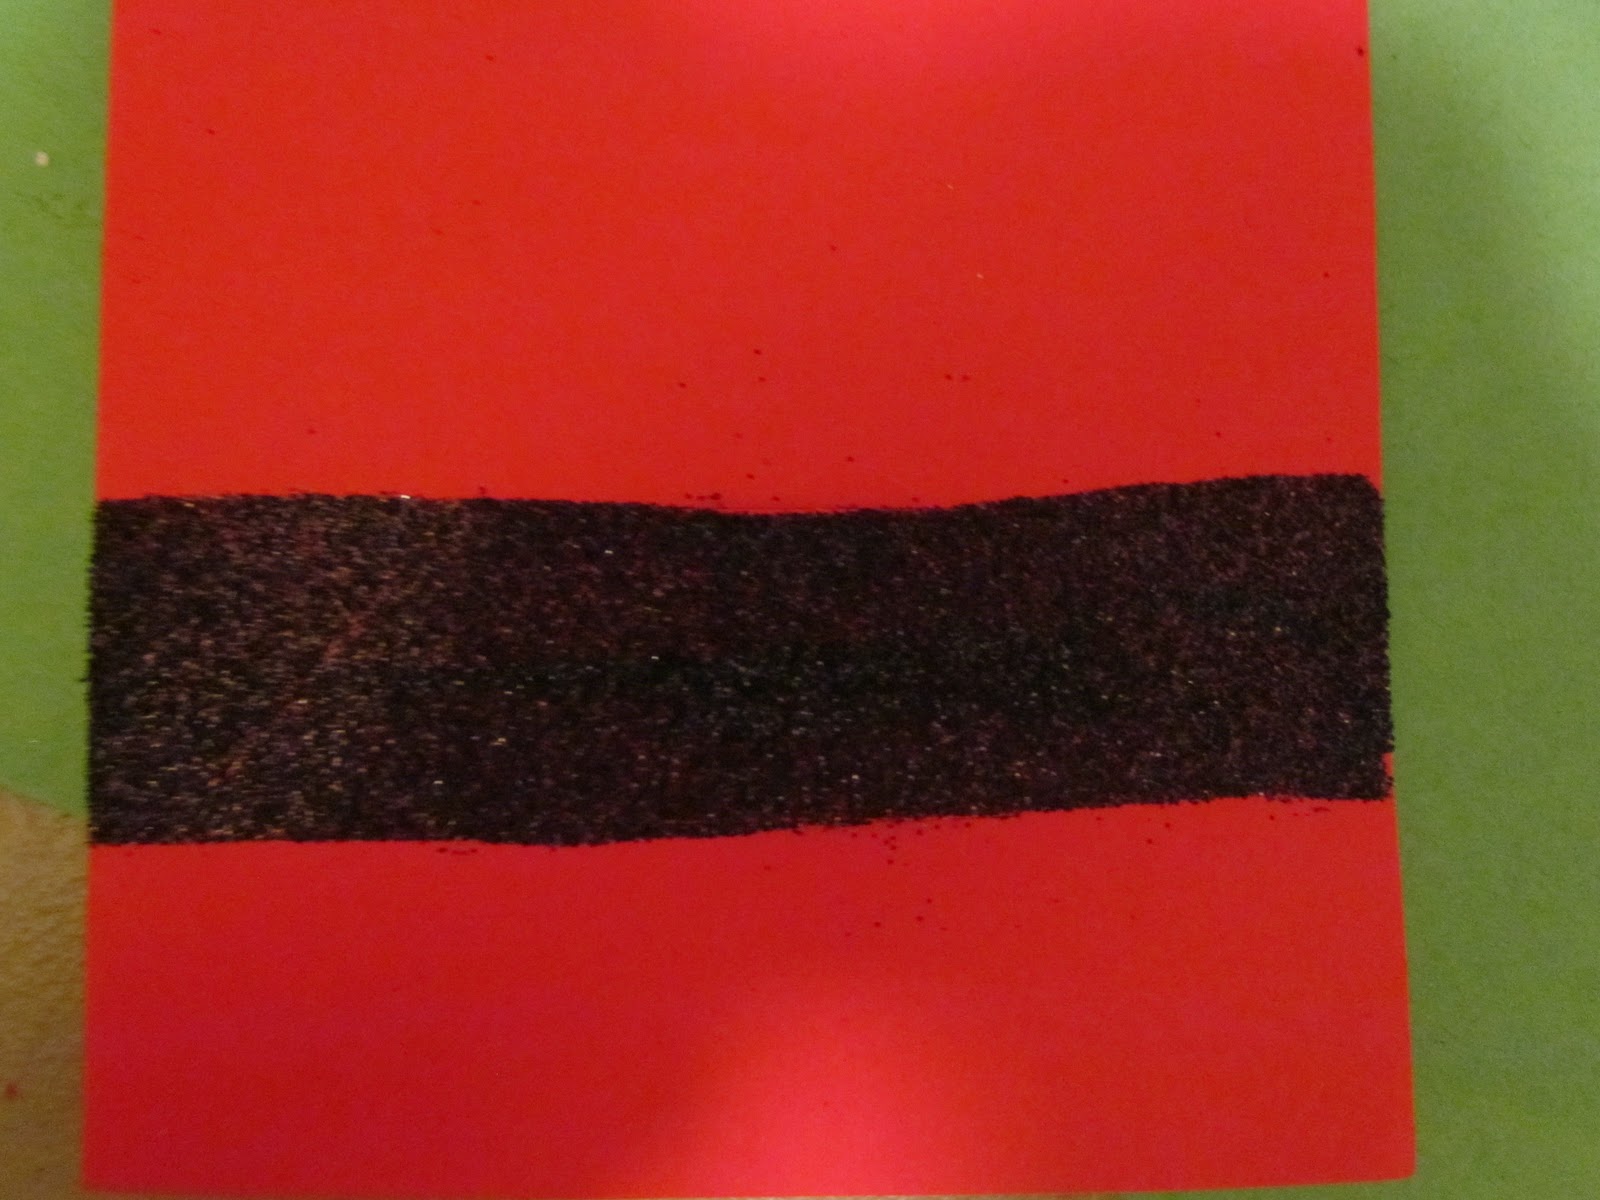
The hat is cardboard, coated with adhesive then covered in black construction paper and cut. ribbon added, and VOILA! He's all done. (Since then, I've stapled a little ribbon scarf to match the hat on the outside of the snowman. It's all good. It's a work in progress. And I'm not perfect. Did I really just say that?


And on to my 1st grader's "gifts" to everyone in her class... Reindeer Noses!!!
Aren't they just too cute? I got the idea from Craft Gossip's posting on them... But... I didn't "feel" like drawing each and every one and HECK! if I was gonna do all the work, so started looking for a digi stamp (free, of course!). And I found one, HERE! at Bits N Bobs! I went through a lot of them (stamp links and sites), and finally found the one that would be perfect for a 6yo to color. (and also one that was not "Christmas-sy" and a JW could eat without feeling guilty for not telling his parents!)

Those are malted milk balls (Whoppers). The original poster (Zoe Robson @ A Personal Touch) used red gumballs for the Rudolph noses. However... first off, Walmart didn't have any, and second off... I wasn't gonna spend over $7 a pound to go to the Candy Store. Ugh! I was going for inexpensive and simple. So... I picked up the Strawberry Shake malted milk balls (Whoppers, again!), as they appeared bright pink on the outside of the box. You know... Rudy probably burned it out a little... However... they are NOT very bright pink and are truly "fleshy" colored. So... I told my 6yo to just say that Rudolph had a busy night and his nose was a little tired. First-graders love a good story!!!


They were a total hit! She was so excited that everyone loved them. And were like, "Whoah!" "Awesome!" "Can I open them?" And I'm sure her teacher was pleased there wasn't "too" much candy in them...

Whew! That's just a bit of what's been going on here. Hope you enjoyed it. And please! PLEASE! pay homage to those that originally posted some ideas. I always give credit where credit is due, and if you stop by and say, "HI!", those wonderfully creative peeps will feel the appreciation they deserve. Thanks and have a wonderfully hectic Week BEFORE Christmas!

Friday, December 16, 2011

Paper Hoarders Design Team Challenge: "Christmas" Layout

I've not been doing so many layouts lately. My main focus has been on gifts and cards and kindergarten projects. There have been LOTS of school projects. LOTS of birthdays, too! I haven't been taking pics of all my work, as me... the procrastinator that I am... doesn't seem to quite find the "time" to take the pic before I have to rush off and give it to the intended... Guess I could take the pic while the glue is drying, hmm?


Anywho, our special DT challenge was to do a Christmas-type/Winter-type layout. And while I "forgot" to order pics and I'd probably forget to pic them up, even if I ordered them! I was going to post this sans photos. However, we (at a restaurant table after a busy busy Elementary School sing-along) were talking about the Mission Inn, and I decided to dig out some old photos to go in my layout. Ok, so I added a little bit of hand-written captioning, but hey... the layout is done, and I'm happy. By the way... I hate dislike glossy prints. And hate dislike the old camera these came from, but I was able to capture the memories AND use up these pics that have been sitting in a box for more than 12 years... ha!

Hmm... Blogger's being "weird" again. This pic was taken landscape, shows up landscape, but isn't loading landscape. And YES! That is my kitchen floor!

The left side... see my shadow?


The right...

And a bit of detail. I LOVE Doodlecharms, and I LOVE Stickles!!!

Boop-boop, be-doop! Whoop!

And no... I didn't procrastinate in the layout, but just the photos...

And now, if you'd like to participate and see everyone else's layouts, head on over to Miss Tanya's blogarooni and see what every one else has got... and HAVE A GREAT DAY!

Friday, December 2, 2011

Paper Hoarders Design Team Challenge: Christmas Card

Yes... I know... it's been almost a month. No excuses, just no mojo, and no battery... and no... and no... (enough with my excuses already... ON! with the challenge!)

So, last year... at the Day After Christmas Sales... I found myself at Target. Going through their clearance stash and came across a couple of bolts of white feather boa "ribbon" for $1.99, marked at 1/2 off LOWEST price. Ya think they might've miss-marked THAT? And so... me, being the totally frugal hoarder person that I am bought them all up! With a card in mind... for this year...

And it took me MANY challenges to finally DO it!

So here I am, presenting it to you...  I mean... What's more Christmas than a little Santa Claus?

How did I get here?

Here's some things NOT to do:

Do not cheat simplify by trying to glitter over the red... it shows through. So, instead, glitter over a black cardstock strip, and you'll be good.

Do not try to heat emboss a plastic slide thinking it would act just like a shrinky-dink to make it look like a belt buckle. It morphs into something utterly at the bottom of a volcano. Ugh. What a mess! And a waste of my precious metallic embossing powder. Instead... Cut the dang thing out of REALLY thick chipboard, instead.

Just another note... when using a really thick "ribbon" like this white feather boa... cut slits to tuck the boa in. DO NOT try putting the belt and the buckle over the ribbon... it makes Santa more fat and bumpy than he really should be...

And another note... DO NOT WEAR BLACK WHILE DOING THIS PROJECT! Unless you want white feather fluff to show all over you... my fleecewear is still recuperating.

Hope you had a fun time and enjoy it! Now... if you want to check out the others for our December Challenge, go on... and go to Miss Tanya's blog! Leave a little love for each of our designers, and join in the challenge, too! Mwah!

Friday, November 4, 2011

Paper Hoarders Design Team Challenge: What Are YOU Thankful For?

I had to think a lot about this, and try to focus on one or two things... as I'm thankful for a lot.

Thankfully, I didn't have to think to hard, because... as I was perusing through my stash of Cuttlebug folders, I came across one that had LOTS of things to be thankful for on it! HA! (You'll see in a sec...)

I've been trying to utilize my stash, so I remembered this Debbie Mumm stack that I bought several years ago (unlike others, I rarely buy stacks...) and so, I cut out the stacked pumpkins. They are so sparkly and awesome. I just HAD to use them.

Then I ran some orange cardstock through a Pumpkin Cuttlebug embossing folder, inked up the Lots to Be Thankful For (don't really know the name of the folder, but that's what I'm gonna call it...) Cuttlebug folder with Walnut Stain Distress Ink (to make the words POP!), then ran some vellum through it.

I sprayed the vellum with a spray adhesive by 3M (love it!!! it SOOO doesn't show!), and attached it to my card; then attached my stacked pumpkins with a little ATG love, added the "Give Thanks" ribbon (another stash-y item), and called it a day.

And so Provo Craft did something right! They invented something that states ALL the things I'm thankful for when Autumn comes... well... if it ever comes, HERE, in Southern California...

Unfortunately, you can't really see the pumpkin embossing, but that's ok. It still gives it a little dimension.

Now... to see other peeps who are thankful, please check out Ms. Tanya's blog... and if you want to, let me know that YOU want to be a Paper Hoarder, too! We'll sign you up!

Lastly... join us for the challenge. What are YOU thankful for? Thanks for looking!

Wednesday, November 2, 2011

Wordless/full Wednesday: Halloween,,, Present-Day

Let it be known... today is kind of wordy... and tomorrow will have costumes from the years before (the ones I made... and a story to go with it...)

Halloween was just the other day. And we had loads of fun. The kids dressed up (even the olders), and we went out trick-or-treating (tot). Went to Grandma's (Mom's) house for dinner (traditional Ghoul-ash and Mummy Fingers [cheesy breadsticks] and tot-ing , went to the "old" neighborhood after, then back to Grandma's to have our traditional donuts and apple cider, before we trekked home 60+ miles.
The "Kids" Gang... (l-r, Stacy, Travis, Rey, Marissa, & Xanny, too!)

Grandpa and the Ghouls:
Friends' house...
they go "all out!"

Marissa, kissing her favorite cartoon character... (and Rey... posing!)

Look!!! It's Colonel Sanders (KFC for those of you too young to know who the Colonel is...)
and his chicken!!!

We're just having fun, MOM!
Look at how pretty the sky is...
It's hard... but they finally got a pic of me... (with my older girls)
She passed out on the long ride home...

Remember to come back tomorrow and relive the days... of the HOMEMADE costumes, before my kids "liked" storebought.

Oh! and if you wanna link up to others of wordless/wordfull Wednesdays, check these sites out: http://www.twoofakindworkingonafullhouse.com/ and DANG! I can't find the site for wordFULL Wednesdays... if anyone remembers, please be sure to leave me a link. Thanks!!!

Friday, October 21, 2011

Paper Hoarders Design Team Challenge: HALLOWEEN Shaped Card

I love shaped cards. You can ask my friends (those that receive them) how often a card they get (from me, of course) is rectangular. Not very often. Don't get me wrong, I do DO them, but... when it comes to holidays or birthdays (unless I'm doing in bulk!), I try to find something a little original to do. And sometimes I'm stumped.

And sometimes, I have more ideas than one.

Like this week.

Let's just say the final card IS NOT what I had originally designed. This was meant to be a witch's hat. And it was ready to be cut. But then... I sold my first sale in my new Etsy shop! And I changed all thoughts. You see... I sold two ghosts! And with that sale... I changed my total idea to all things ghostly. (just a little plug... if you'd like to see my shop and/or order, just click here.  i will do things custom and will soon post more holiday-theme items, seeing as the holidays are quickly approaching. what do you want to see?)

*note: due to the sticky nature of this project, photos were taken mostly at the end.

First off... I picked a ghost from Paper Doll Dress Up. Then I enlarged him to a 5.5. I copied him, then I flipped him from side to the other side (horizontally). Then I scooted him until he was up against the other one, a mirror image that overlapped. And I welded him together with his twin.

(whew! we're not done yet with the Gypsy, peeps!)

Next, I went to "advanced" and "hid" the elements I didn't want. On one side (the bottom side), I hid all the inside cuts (eyes, billows at the bottom). On the top side, I hid the billows, but not the eyes. Then I cut him out and scored him on my Martha Stewart Scoring Board.

Took out my Christmas Red Stickles (yes, he was still folded!), and did the eyes (remember... the eyes were cut on the top!). This left them red-rimmed on the outside of the card, and red-rum-my on the inside. I opened it and stamped a creepy ax-y-lookin' stamp (something that had fallen off, perhaps?) in Distress Inks and let him dry.

Here's the sticky part... then I cut a used Bounce sheet (you know... the fabric softener sheets) into the ghost form (with my Cutter Bee scissors. my regular paper-type wouldn't cut it) put it in a soda case box and sprayed adhesive glue on it. I tossed glitter (the iridescent pixie glitter) on it until it sparkled and shined! Pretty! I tried to let it dry. It took a long. time. But it was dry for the most part. I picked it up, flipped it over, and sprayed it AGAIN (on the reverse side) with spray adhesive and quickly picked it up.

Getting it to to stick on properly was a chore in itself. Ugh! Messy. Glitter and sticky icky adhesive glue all over my fingertips. Yeah... no pics for this... But when it's wet (the Bounce sheet), it's more stretchy. (My note to self for next time? cut it a little bigger... it seems to want to shrink!) Got it pretty well matched up and stretched out and on. And I let him dry. (notice... the bounce sheet is now on the card, so we're back to "him" again...?) Here's a pic (I got a chance to finally wash my hands!)

After drying, I couldn't see the red Stickled eyes so well, so I added them to the outside. Let him dry again, then took him out for a stroll in my Halloween Haunted Walk (outside my door! see the orange-y lighting? and cobwebs? and black roses?). Yeah... cool-e-o!


Hope you like my shaped card! And if you'd like to see others, simply stop by Miss Tanya's website, as she's got the whole group posted! Please be sure to leave a comment for the cards you visit, as everyone likes a prop or two. Have a HalloSCREAM!!!!!

Friday, October 7, 2011

Paper Hoarders Design Team Challenge: The Sweetest Day

So... it's been a little bit. Yeah... I'm still here, just been busy and frustrated. My mojo's been tampered with and well... yeah... but! it's challenge time again. So you know what that means! And our challenge this week? Um... the Sweetest Day (Make a little sum sum for your honey.)... Say what?

I'm from California, so... I'd really never even heard of it. So... I did a little research and found out there's a reason I never heard of it! Apparently, (per Wikipedia...) it's mainly based in the Great Lakes regions, and was introduced as a "Hallmark Holiday". Oh! and... apparently, it's for gifts to be given to boyfriends, husbands, etc... NOT a reciprocal holiday. So... um... sweet...

Had.

Me.

Stumped.

I'm not sweet. I do things for my hubs all. the. time. Does he appreciate them? Uh... NO...

But... seeing as our anniversary is THIS Saturday, I thought I could do something for that and cover all bases at the same time. But I'm not giving him candy... I'm making him a full menu (Huevos Rancheros for breakfast, Grilled Paninis for lunch, and Bbq-ed STEAK for dinner). It's all his faves and things he's been asking for, so I've got the pork in the crock pot for the Chile Verde, and I'll be doing some more shopping tomorrow night.

So... (clearing throat)... I made this card to go along with it...

I'm a little corny sometimes, and all I could think of (with the lack of mojo-ed-ness here) is a monkey, and inside having it say, "Thanks for hanging around..." Granted, he's hanging on a heart (I welded two hearts together to form the card...) and there are vines and things on that heart, but it's been a jungle of 7 years (we've actually been together much longer...). And I'm glad he's made the constant choice to stay, as I'm super difficult not too easy to live with.

I just love that shiny paper... so I made the card base with it. (Heart - Gypsy Wanderings)

Then folded it a la Martha Stewart-style... bone folder and board...

Did my little monkey...
and added some flocking to his fuzzy (messy little) face.

Had to get some of those vines and leaves around... and in different colors and textures.

I "hid" the heart that came with the monkey and vines... (Monkey & Vines - Sweethearts), so I never cut it and it didn't show in my cuts, because the card base was big enough. Who doesn't have a big heart?
Hope you like it and so does he! You can join in the fun, too! Just go to Ms. Tanya's blog and participate, too! We'd love to see what you come up with!

Happy "Sweetest Day"!!

Wednesday, September 21, 2011

(WW) Wordless/full Wednesday - A World of Color!

First... let me get the words out. I'm changing my Wednesday title to WW. That way... when I want to be WordLESS, I can. AND! When I want to be WordFULL, I can. Simply put. That way, I have it all, because sometimes, you just want to tell the story behind it all...

And on with it:


Pow WOW!!!!

Friday, September 16, 2011

It's FEED ME FRIDAY! (Roasted Garlic Hummus Edition)

courtesy of Daphne's California Greek
Whelpers... it's kinda still warm here. And I feel like melting. But... I have a major craving for hummus. Mmm... I really don't feel like driving all the way into Riverside and eating at Daphne's "California" Greek (WHY? did they change the name like that???)

and I really do just feel like pita bread (not to be confused with PITA - pain in the ass... bread) and hummus.

I love traditional. I love roasted red pepper. I love tahini (sesame seed paste). I love it all. And I really, REALLY love garlic. (shhh... don't kiss me!)

Most of the recipes I'd found start with canned chickpeas (garbanzo beans). But... I really don't like the briny-ness. Ew! ... and besides, I have some dried ones in my pantry. Some garlic, olive oil, lemon juice, some sesame seeds and a little oregano... and I'll be good to go. Yum-O!

THIS is the recipe I'm gonna try before I do the above recipe. I'll adjust the seasonings, and tell you how it was!

And fyi (if anyone in my family Santa is keeping my list)... most of these recipes require a food processor. Yes. I have one already... but it's old and dying (it squeaks!). So... to keep things on the quiet side (my hubs sleeps during the day, and heck! I'd like to totally watch my addictive television programs while I'm cooking/prepping... THIS is the food processor of my dreams!!!

It is quiet. It is quick. It is totally awesome. It has THREE! bowls (that all fit inside each other!). It has blades galore! It does everything I've ever wanted to do with food (except cook it, of course!). One disc has an adjustable blade... so YOU can adjust the thickness of a slice, should you want to...

But... it is a Williams-Sonoma exclusive. And... I can't find it anywhere else... for less than $299. Ugh.

My daughter and I love it so much... we're willing to split it as a Christmas gift together? (do I sound desperate?)

So... as I'm pulsing away with my chickpeas and garlic, I'll be fantasizing about this... and what could be... have fun! and if you try it... let me know how it was! Toodles!

Paper Hoarders Design Team Challenge: Fall Colors Challenge

It's another round of Paper Hoarders Design Team. And guess what? I didn't buy a thing... didn't open anything new... used lots of scraps and my stash...

We had to do something (anything) other than a layout, because... as you might remember, I'm on the everything DT, which means... we still can't do a layout. There's another team that does that next week. But... the challenge? "Fall ( pick 2 of the following colors and use on your project.. you CAN use   more.. red, orange, yellow, brown, gold)" And so... I picked THEM-ALL!!!! Bwahahaha!


First... I took searched my shelves for Modge Podge Glitter! Yes... I got it on clearance quite a while ago at Joann's. And it comes in quite handy... dries clear (with little flecks of gold glitter)... you'll see... keep reading and scrolling...


Then... I sponge-brushed it on 5"x4" acetate panels (2 of them)... and let it dry... and went to a tennis match (they didn't win, so I came home and worked more on my project...)
See? It's all clear now!
Then, I worked on my Gypsy a tad... typed in FALL, and found close to nothing on carts I had, so I did it myself with Storybook (loooove that cart!). NOTE: I did not weld it!!!!!  
Cut it out on Terrifically Tacky Tape (sheet)... well, what was left of it (it was 3.25"x3.25"). It ran off the edge, obliterating an "L", so I deleted 3 letters from my screen, rotated and moved the "L" to squeeze it onto the leftover bits of the sheet (improvisation at it's finest!) and cut again. Um... I programmed it to cut it 2x. HOWEVER... cutting through sheets of plastic like this... even at high pressure, I probably should've gone a 3rd time... so I had to do a bit of careful separating... my fave thing to do...
Now... here's the really CAREFUL part. I outlined (on white paper... the one I used as a mat while I Modge-Podged them) the area of the acetate. Then... I centered lines, so the placement of my letters would be just that... CENTERED!
Then, I super duper carefully peeled the white backing off my letters, and placed them on the acetate, beginning with the center letters, then adding the others to achieve this...
and carefully peeled off the red plastic coating to get THIS... (another note... I placed the white paper underneath ALSO so that bits of things wouldn't cling to the acetate... I hate when that happens...)
Then... added a little burnt orange ProvoCraft glitter (thanks to goodness to clearance sales from years ago... twenty-five cents keeps on going!!!)... to achieve THIS. (it'd'n't purtee?)
I had already cut out an aperture in a card blank (craft! one of my FAVES!!!), large enough for my acetate. (btw... I can't find the pics of these steps... sorry...) I adhered the non-FALL acetate to the underside of the card opening, sprinkled in some punched out apples and leaves from various scraps, put adhesive around the edges of that acetate (be sure to adhere the complete perimeter, so that whatever you're putting in your shaker-box doesn't escape through an itty-bitty opening!!!), lined up my FALL acetate, and pushed it down. 
Then I finished it up, by inking the framed portion of the card with Cat's Eye gold ink...
... tied a strip of twine (recycled from a kids' toy packaging! be sure to check out the awesome extras that come with your kids' toys!!!! [this held HAIR on a Barbie-type doll!] you'll be amazed at what you paid for and are throwing away!!!) around the card's "spine"... and found these two little leaves (yes... I only had TWO!), pierced a hole in them with a piercer... threaded the twine through and knotted it from behind... 
Really... I am super happy with the total result. You have to look "beyond" the pictures, actually look "through" them to see the full thing. I loved the idea! (it wasn't my original one, but... um... I didn't think know that E6000 eats through Styrofoam [maybe I should've saved and read the packaging?], and so that particular project died on my table... literally... it shrivelled up and d.i.e.d.!)
My 17yo loves it so much... she wants it. Hmm... let's see what I can get her to do for it... Bwahahaha!
Thanks for stopping by... and if you'd like to participate in our challenge, feel free! You can visit Miss Tanya's blog and see what all the other designers have in store for you, too! Meet the challenge... do it for yourself. I had fun, and so can YOU! (and if you want to... come back later for FEED ME Friday! where you'll see something new and delicious to make [or inspire you to go out and eat...]!)