Showing posts with label Santa crafts. Show all posts

Sunday, November 29, 2015

12 Days of Christmas (Day Six)

Did you partake in Support a Small Business Saturday? I sure did... although I'm a little on the outs with most, as I lost my bankcard last week, and can only currently order from places that take PayPal until I get my new card. Kind of a bummer... but I saved a whole lot, without going anywhere. (In other words... I probably bought WAY less than YOU did! Neener neener... and that's how I feel better about not being able to shop this weekend!)
Welcome back to the 12 Days of Christmas Blog Hop (Day Six)! This hop will take place  November 24th through December 5th. Each of us will be posting something Christmas related each and every day at 8:00am, Eastern time (so for my Pacific Time Zone peeps... that's 5am... But don't worry, you can sleep in, and we'll all be here waiting for you, too!)... for 12 WHOLE DAYS! Let us inspire you to finish up that layout, make some special Christmas cards, or wrap that gift in a fun and festive way. If you've already started, you probably came from Barbara. She is so awesome, isn't she? Let's continue this 12-day crafting party!

Alrighty now...  I've said in Day One, I'm starting my portion of the hop with paper things. Things that are simple and easy to do. As with Day TwoDay ThreeDay Four, and Day Five... We are still with the Christmas things meaning all things Christmas! and still with simple [paper] crafts. Today, though... I'm stretching it a tad. We are decorating for Christmas in my house. "What does that have to do with it?" you ask... Um.. My paper craft? It's a PUZZLE! that I didn't put together!!!!

Anyone who knows me, knows I love all things Coca-Cola except that crappy new retro stuff and Polar Bears (even the Coca-Cola ones) should one be decorative (in the home) at Christmastime and Santa Claus. So... for my birthday last year, my friend put together a puzzle for me with my two materialistic iconic loves. Coca-Cola and Santa Claus. Yes, I know it's a really bad picture. Get over it. Since it's Christmastime, I'll even say Please Get Over It. It's not worth it. Really. Choose your battles.
It's fairly large... poster sized. And it came to me freshly put-together. So... I Mod-Podged it. Twice. I love the look of brush strokes (you can't see them in the picture, I tried to capture it, and it didn't work, so my lazy butt gave up on it), so I brushed one way and let it dry, then the other think hashtag, cross-hatching, or whatever your heart desires, so it gave it a canvas-y look. Huh! A puzzle on canvas. Why didn't I think of that! You might think it's nuts, but I really really REALLY like textures, and you can totally get that on your own, by applying in crosshatches, but drying the coats in between so as not to mess up blend the "both ways" strokes. Oh yeah... and then I glued it down to a larger cardboard. Two words. Gorilla. Glue. Love. It.
 
Next up? A frame. Uh. Wow. Even on sale... Michaels, Joann's Aaron's, and other framers cost fortune. Yikes! So... that's where my actual project comes in. Not only were these framers rather expensive, I didn't see a single thing I liked. I wanted regal. I wanted it to look antique and Old World and just awesome. And I couldn't find it. I looked EVERYWHERE! So I begged my Handy Dandy Husband to make me one!
 
I scoured Home Depot, Lowe's, Ace, friends' houses, EVERYWHERE to find the perfect molding. I found it. Scored it at Lowe's. I gave my Handy Dandy Husband the measurements and told him I wanted the corners mitered... He put it all together. And handed it over to ME! There'd be more pictures of the whole process but I was so excited about my project, I totally blitzed on taking them.
 
I glued it on top of the cardboard, so it exactly surrounded the puzzle, with a tiny bit hanging over the edge. Again. Two Words. Gorilla. Glue. Awesome stuff. Let it dry. Duh. Then I used a craft knife yes... because it is such a large surface, I did try a rotary cutter. Um. No. It will not cut at an angle... so the cardboard can be seen from the front of the puzzle. Does. Not. Work. For. Me. at an angle, similar to a mat cut. I wanted the cardboard adhered to the back to fade from view not be completely obtuse or amateur-looking. Got the look. Next?
 
Paint!!! Remember how I said I wanted it Old World, regal, antique yadda yadda yadda? I chose an antique gold and brushed it on after I put painter's tape all over the inside of the puzzle because yeah... I should've painted the dang frame first. Duh. And I'm sure that's what my Handy Dandy Husband was trying to tell me as I took/stole the new frame from him and ran towards the house. He was probably laughing his butt off when I had to go back out to get the painter's tape. I let it dry... Then I "antiqued" it by spraying Walnut Stain (Distress Ink) on it. I let it sit, then rubbed it into all the tiny nooks and crannies of the frame. I let it dry or so I thought and picked it up. The paint I chose was apparently a sealer, too. The stain didn't go "into" the paint and only stayed on top... never to dry..."  And so I rubbed it a tad more, then re-sealed it with another sealer on top of the "antique" look because the antique gold wasn't "antique" enough for me.
Close...
 Closer...
Even closer...
 
With the end result being...
And up on my wall... as we speak. I love it. Even with the minor setbacks of the inability for find what I wanted I feel so SPOILED, the soiled/stained hands, and the having to do more work because my ignorance, my arrogance, and my childlike impatience I didn't listen to my Handy Dandy Husband's words as I walked away with something he'd created for me... It is better than anything I saw ANYWHERE which is really good, because if you remember what I said earlier, I couldn't find it and had looked EVERYWHERE.
 
Since we are decorating, I thought I'd share with you a bit of my treasures...

I love small bits of lighting in a darkened room. So magical... With that, I bid you adieu. Be sure to scan the ads and get ready for Cyber Monday and hope I get my bankcard in the mail on Monday! but be sure to finish up Black Friday weekend with a bang. I'm back to work on Monday, as well... wish me luck. Only 3 weeks to go!
 
Oh wait! There is more in store for you, so hop along and please comment on each and everybody. 'Cause you know we all love a little love... And BE SURE to check out the "other" Lisa, as she's the one with all the blog candy and sponsor info! Have a great time, and don't forget to come back tomorrow!

Here's the Line Up for Day 6:
  1. Lisa P. - http://honeybearzdesigns2011.blogspot.com <==== the "other" Lisa!
 ** Mary - www.scrappintoday.blogspot.com (Guest Designer)
  2. Madge - http://www.thescrappinlounge.com/blog
  3. Ashley - http://marinewifesscrappinlife.blogspot.com
  4. Sandy - https://www.bloglovin.com/blogs/scrapbook-blessings-club-5722003
  5. Elizabeth - http://CraftsByHappyStamper.com
  6. Angela - www.crazy3monkeys.blogspot.com
  7. Alicia - www.goldengoddessdesigns.blogspot.com
  8. Miranda - www.nanasscrapspot.com
  9. Daphne - http://craftyscrapsofstuff.blogspot.com
10. Rhonda - craftingwithblue.blogspot.com
11. Charmagne - http://www.sanurascraps.blogspot.com
12. Barbara- http://barbarab3.blogspot.com/
13. Lisa F - http://lisaslittlerascals.blogspot.com/ <=== You are HERE!
14. Sharondalyn - Http://www.clippingsbysharondalyn.blogspot.com <=== Next stop!
15. Jessi - http://www.mylifeinartsncrafts.co
16. Heather - Http://www.paper-junkie.blogspot.com

Wednesday, November 25, 2015

12 Days of Christmas Blog Hop (Day Two)

Welcome to the back to the 12 Days of Christmas Blog Hop (DayTwo)! This hop will take place  November 24th through December 5th. Each of us will be posting something Christmas related each and every day at 8:00am, Eastern time (so for my Pacific Time Zone peeps... that's 5am... But don't worry, you can sleep in, and we'll all be here waiting for you, too!)... for 12 WHOLE DAYS! Let us inspire you to finish up that layout, make some special Christmas cards, or wrap that gift in a fun and festive way. If you've already started, you probably came from Barbara. She is so awesome, isn't she? Let's continue this 12-day crafting party!

As I've said in Day One (If you'd like to see my "little boy" Christmas Card, just click HERE!) I'm starting my portion of the hop with paper things. Things that are simple and easy to do. Today, I did a Santa Silhouette. It is available in Cricut Design Space. I didn't pay anything additional,  as I am a subscriber (SOOO worth the $9.99 each month to have WAY more access to cartridges I don't physically own, especially for just one or two cuts!).

I enlarged it to fit an 8-1/2x11 paper... and created an oval shape that would make a suitably-sized backing. (I believe this cut was supposed to be vinyl and adhere to a wall or window. But I didn't want that!)
Just a side note! ***And if you see all of my open tabs... you'll see I keep checking on Santa's Reindeer at Reindeercam.com. It's free to view on your computer (which is what I do...) or you can take it mobile and pay $1.99 for the app on Android or iPhone. Just interjecting this here because you can see what I've got open. I'm just too lazy to shut them down and reopen them or find them for the purposes of writing this post.

Did someone say, "Squirrel!"?

I then cut it all out. The Santa Silhouette (the ACTUAL silhouette) and the frame, I cut in black. I had to do this in two steps, as I could not for the life of me get Design Space to change the layer of the silhouette to the same color as the frame. It's a cut file... and sometimes it won't let you do it. Could've been a fluke... I'll never know, nor will I care at this point, as my patience (that I talked about last post and said I had) was kinda gone. Regardless... I did it in two steps (had to move the oval (that was cut inside the frame) all up on the mat to not waste paper after the frame was cut, so the silhouette would be cut from the same color and not waste more paper. Did you understand that? Because it totally made sense in MY head!

I didn't like the little bubble edges on the scallop of the frame, so I contoured them better with my trusty little Cutter Bee scissors. Then it all looked the same and not like an enlarged bookplate with scallops on steroids. I'm ok if it's not perfect...
Time to GLUE! I applied the glue to the black pieces and laid them on, one by one, lining them up with the white oval the best I could.


A little of the white oval was peeking out, when I was all done, so I flipped it over and snipped it off... with my super sharp-tipped Cutter Bee's... Can you tell I l-o-v-e my scissors?
Then I played a little. I'd bought a Wink of Stella pen about a month ago and hadn't ever played with it (or any other) yet. So... I broke out that new baby. And I couldn't figure out how to get it to work. Nothing worked. I looked all over that dang wrapper. I'd opened it from the taped end... and read the back... and there was nothing. NOTHING.  Apparently, when something says "OPEN" and has a pull tab, you HAVE to open it there. The instructions for the Wink of Stella are on the INSIDE of the casing. Duh. So I followed them, and took out the "black ring" after unscrewing the cap, replaced it... and... IT WORKED! I Wink'ed a little Stella on the inside of each scallop... and added a little to the edging of the silhouette, then zig-zagged some on the inside black oval...


And I felt like I still wasn't done.

 
So... I stamped in Distress Fired Brick, "I Believe" and all was good.


I'm totally happy with it. I need a little more practice with the Wink of Stella brush pen, so it's not quite perfect. I love the look with just a little glitter surrounding it all. And I think next time I see WoS's on sale, I'll buy a couple more colors. They are AWESOME!

There is more in store for you, so hop along and please comment on each and everybody. 'Cause you know we all love a little love... And BE SURE to check out the "other" Lisa, as she's the one with all the blog candy and sponsor info! Have a great time, and don't forget to come back tomorrow!

Here's the Line Up for Day 2:
  1. Lisa P. - http://honeybearzdesigns2011.blogspot.com <==== the "other" Lisa!
 ** Carolyn -http://www.grandmacarol46580.blogspot.com (Guest Designer)
  2. Madge - http://www.thescrappinlounge.com/blog
  3. Ashley - http://marinewifesscrappinlife.blogspot.com
  4. Sandy - https://www.bloglovin.com/…/scrapbook-blessings-club-5722003
  5. Elizabeth - http://CraftsByHappyStamper.com
  6. Angela - www.crazy3monkeys.blogspot.com
  7. Alicia - www.goldengoddessdesigns.blogspot.com
  8. Miranda - www.nanasscrapspot.com
  9. Daphne - http://craftyscrapsofstuff.blogspot.com
10. Rhonda - craftingwithblue.blogspot.com
11. Charmagne - http://www.sanurascraps.blogspot.com
12. Barbara- http://barbarab3.blogspot.com/
13. Lisa F - http://lisaslittlerascals.blogspot.com/ <=== You are HERE!
14. Sharondalyn - Http://www.clippingsbysharondalyn.blogspot.com <=== Next stop!
15. Jessi - http://www.mylifeinartsncrafts.co
16. Heather - Http://www.paper-junkie.blogspot.com

Friday, December 2, 2011

Paper Hoarders Design Team Challenge: Christmas Card

Yes... I know... it's been almost a month. No excuses, just no mojo, and no battery... and no... and no... (enough with my excuses already... ON! with the challenge!)

So, last year... at the Day After Christmas Sales... I found myself at Target. Going through their clearance stash and came across a couple of bolts of white feather boa "ribbon" for $1.99, marked at 1/2 off LOWEST price. Ya think they might've miss-marked THAT? And so... me, being the totally frugal hoarder person that I am bought them all up! With a card in mind... for this year...

And it took me MANY challenges to finally DO it!

So here I am, presenting it to you...  I mean... What's more Christmas than a little Santa Claus?

How did I get here?

Here's some things NOT to do:

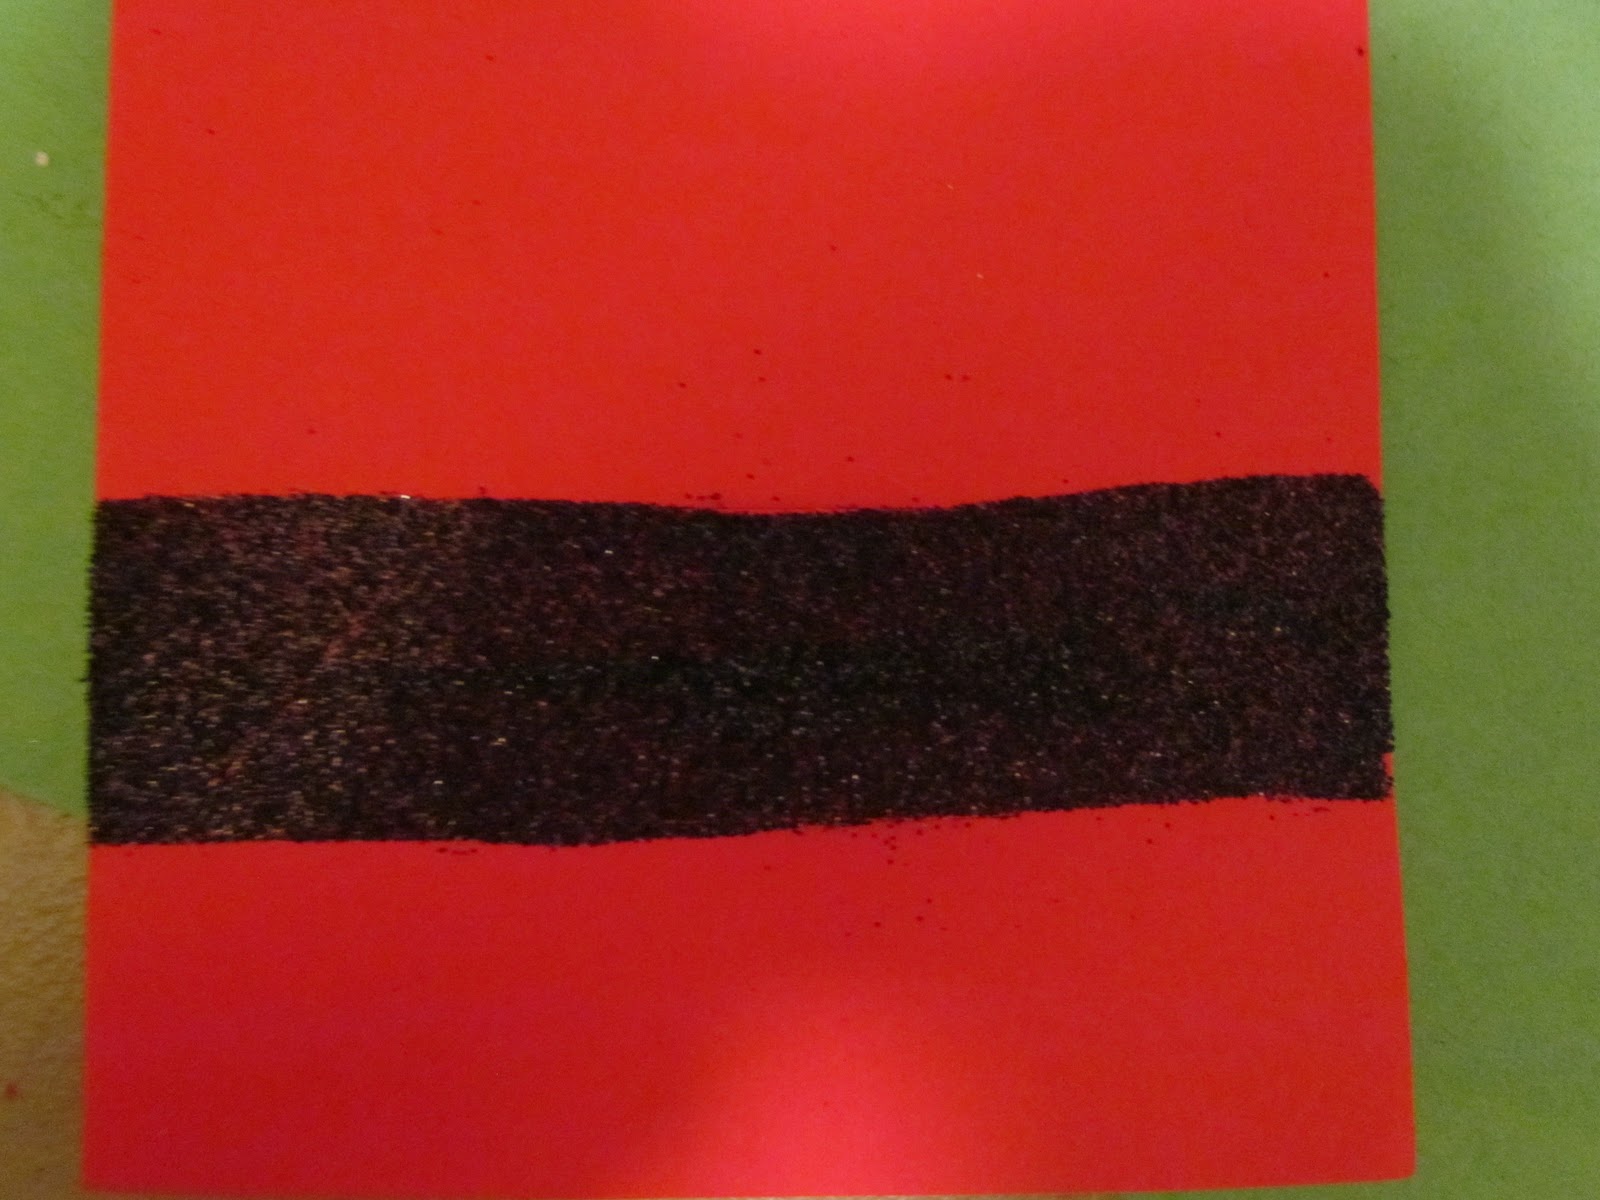
Do not cheat simplify by trying to glitter over the red... it shows through. So, instead, glitter over a black cardstock strip, and you'll be good.

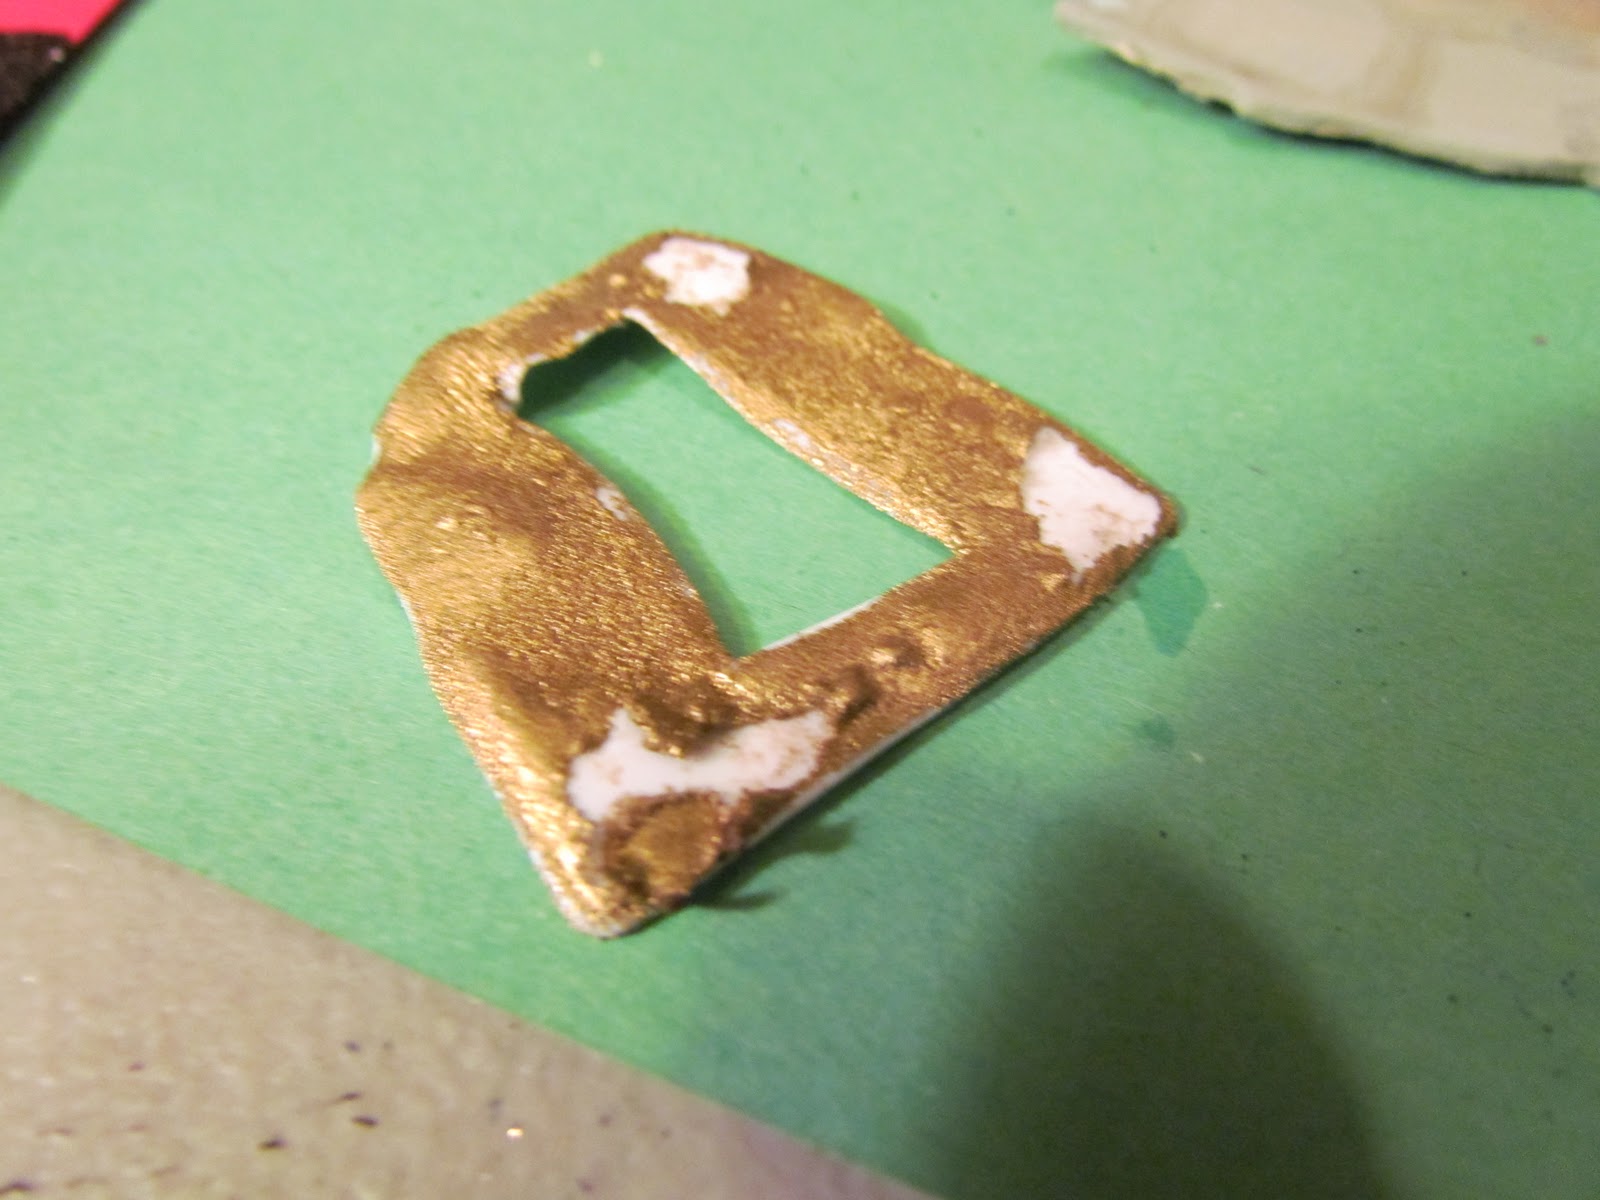
Do not try to heat emboss a plastic slide thinking it would act just like a shrinky-dink to make it look like a belt buckle. It morphs into something utterly at the bottom of a volcano. Ugh. What a mess! And a waste of my precious metallic embossing powder. Instead... Cut the dang thing out of REALLY thick chipboard, instead.

Just another note... when using a really thick "ribbon" like this white feather boa... cut slits to tuck the boa in. DO NOT try putting the belt and the buckle over the ribbon... it makes Santa more fat and bumpy than he really should be...

And another note... DO NOT WEAR BLACK WHILE DOING THIS PROJECT! Unless you want white feather fluff to show all over you... my fleecewear is still recuperating.

Hope you had a fun time and enjoy it! Now... if you want to check out the others for our December Challenge, go on... and go to Miss Tanya's blog! Leave a little love for each of our designers, and join in the challenge, too! Mwah!

Monday, December 8, 2008

Penguin Bell Project

I love Christmas and the holiday season. Characters abound, big and small... which brings me to this cute inexpensive project from The Tall Mouse. This is one of my fave craft stores. (They even carry Stickles!)

"Someone" in my family adores penguins in particular, so I thought I would share this, today. Penguins can be kept for the entire Winter season, whether you celebrate Christmas or not! Do different sizes and make a whole family of penguins, changing the facial expressions to your liking and making each of them unique to you.
Featured blog of the day? (I know it's been more than a few days since I did this... lol!), but I really would like to feature a Santa Theme today and give kudos to Wanda and her Creative Corner Blog. How many ways can you say "Santa?" Well, Wanda shows us lots of different ways to incorporate Santa into various different crafts and gifts. (She has LOTS of other great stuff, too!) It's time to get busy! And a big THANK YOU! to Megan (from Scrapbook Bingo!) for showing me this site. I am definitely subscribing!!!
Yesterday was cold, even though I was in Newport Beach. The sun peeked out for about an hour. Oh! Ok... maybe not "cold" to all of you, but definitely cold to some of us flatlander Southern Californians! It was breezy and around 62... With me getting wet from the constant splashing of the pool, that equals COLD! But I am now ok and semi-thawed out... lol! It wasn't that bad, and I had wonderful people to work with during the swim meet.
Afterwards, we celebrated John's birthday (Happy Birthday, John!!!) at my mom's (yummy fried shrimp!) and decorated her tree. Marissa (age 3) actually went on the potty chair through-out the day (without me of course!), but at least she is FINALLY getting the hang of it... now if only I could talk her into quitting diapers and wearing panties!!! Gotta run... Toodles for now! lisa