If you are here for the Hats Off Bloghop, pleases go HERE, or you can check it all out. We'd love to have you!
Welcome to

It's not to late to hop and comment to be entered into our prize drawing. If you missed any of the previous months, you can click on the month to be taken directly to the start of that month's hop:
January HERE
February HERE
March HERE
April HERE
This month we will be creating spinner cards and you won't want to miss the amazing and fun cards we've got for you today. We really love feedback, so please leave a comment on each of the blogs in today's hop. Each comment on the 12 hops throughout the year will be entered into a drawing for a $25 Blitsy.com gift certificate.
Now on with the projects.
I need to tell you something first... Before this, (*whispering*) I had never done a spinner card. Yup. NEVER. I always thought they looked great and cute and fun and whimsical, but... I'd never done one.
and another one... https://www.youtube.com/watch?v=kUnR7dXLrJg (Kinda brilliant tip included in this one... to use the square punch [at an angle, of course...] to make the edge of a banner! Can we say, "WHY DIDN'T I THINK OF THAT?!?!" and another little tipster... to make a "technique page with a mini-size spinner and instructions. WOW!!!)
And now for my fave... https://www.youtube.com/watch?v=IoiThHoXeQ0 (Lawn Fawn) OMG! She just makes the cutest frickin' cards EVER!!!!
And so... I did my best. I looked at the size of my foam dots and adjusted a slot in Design Space accordingly.

Note... the bottom one is JUST fine...

I stamped and heat-embossed two ladybugs. So cute!


*Special Note To Self* Don't use Wannabe Stickles unless you WANNABE using your finger to spread it, since the tip constantly gets clogged.

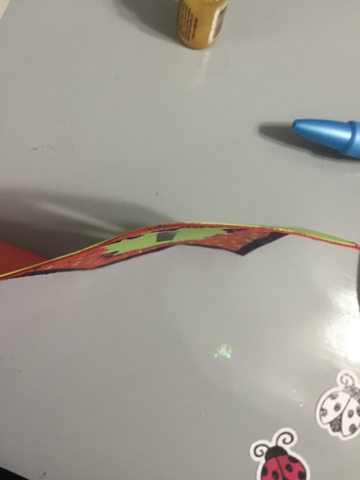

Heat-gun your card, should it dry curved, and it pretty much straightens itself out.

OOOh! This + this + this + THAT = a PENNY SPINNER CARD? Yup! REAL pennies, folks!


They fell off the paper backing...

And there we have her... Except she doesn't move...

*Third Special Note To Self* Be sure you do not have any ink or coloring next to any of the other paper or cardstock you may or may not be using... (It'll show through the slot...)

Time to peel it up and make 'er work!

Double-stacked and... MUCH BETTER!

Now she totally slides everywhere.

But THIS distance between two papers is WAY too much for me!

So, I red-taped that schtuff together!
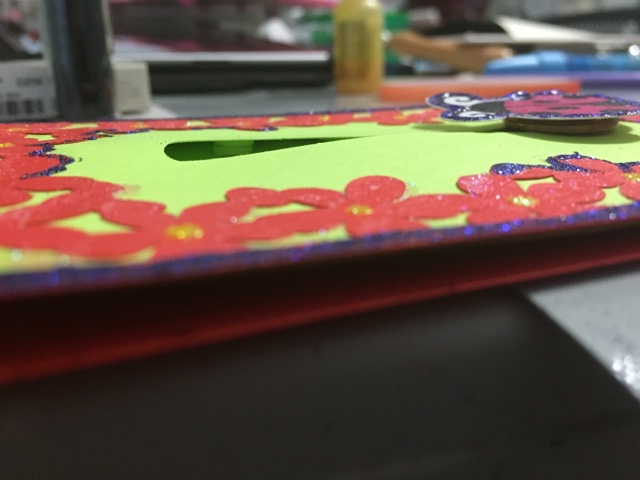
And now, it looks way more presentable!

And here's today's lineup... Happy

